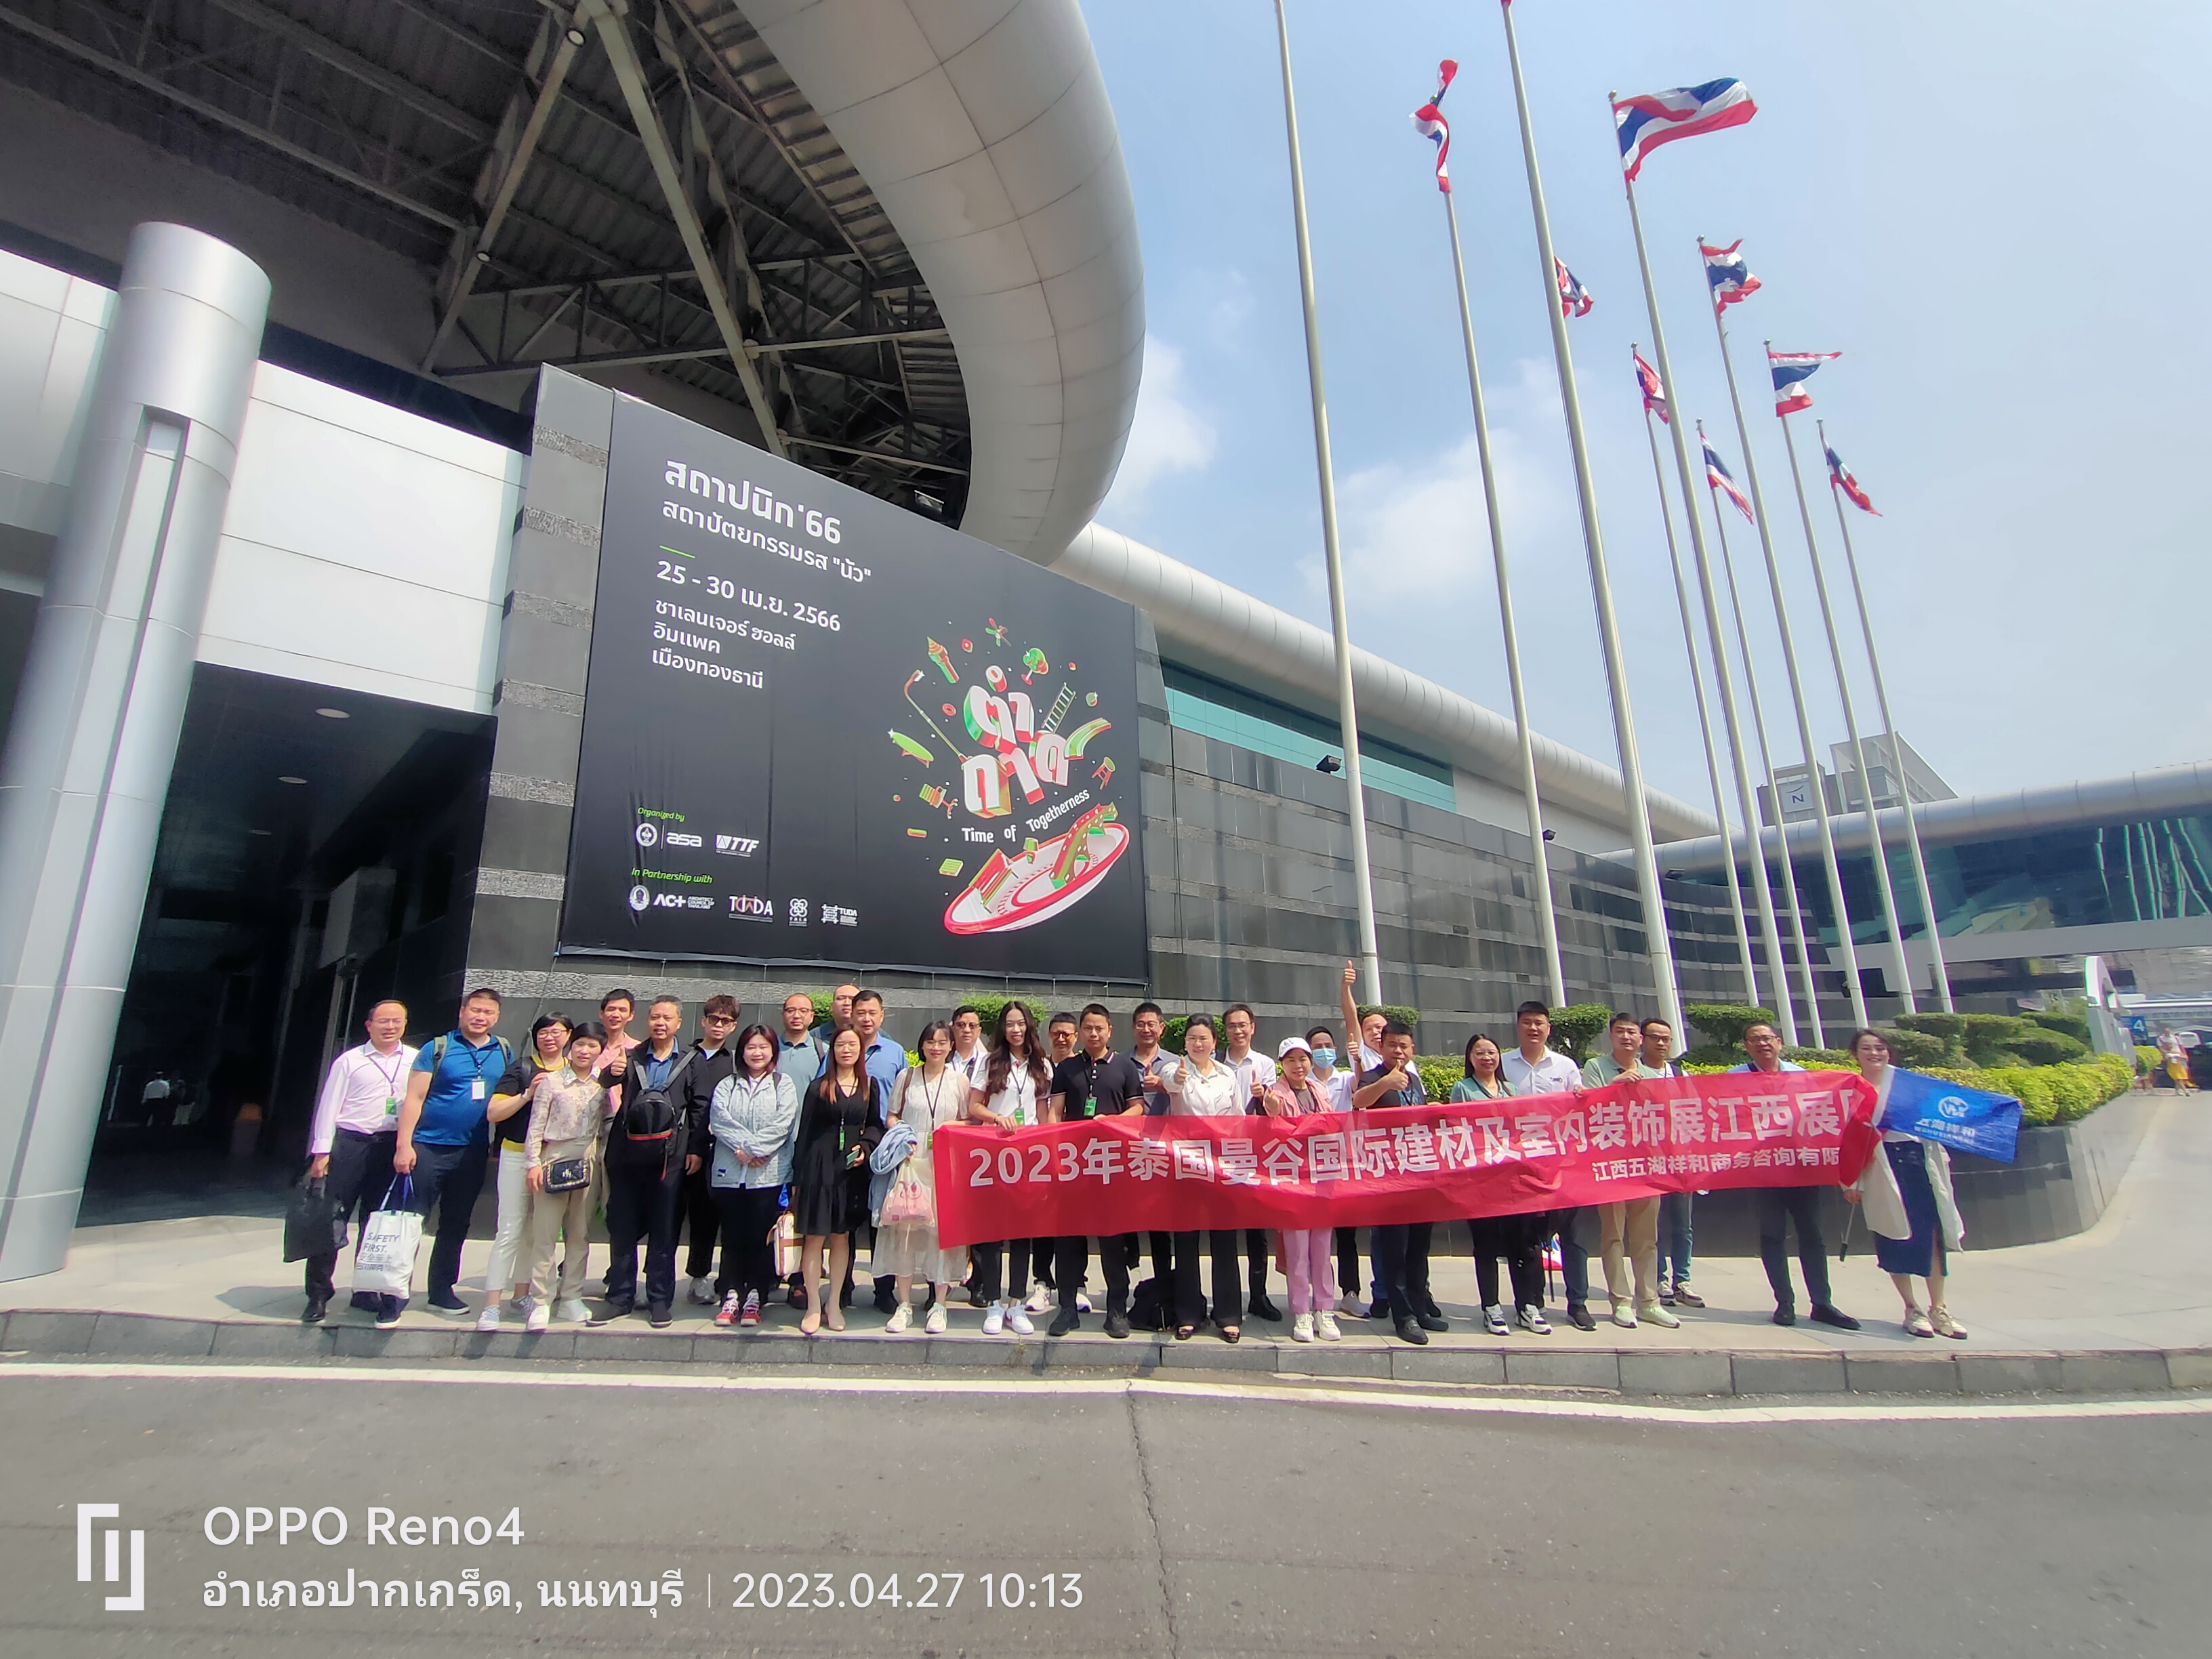
copy protect

Thursday, January 16, 2020

Whittling Again

I haven't whittled much this year, to busy elsewhere- garden, remodel, having a little fun.  That's one of the reasons I like to be involved in the WCI Ornament Exchange, it forces me to dust of and hone my knives and take on a little project.  Helps me keep my hand in.  Everybody likes ornaments.

Last year's flying reindeer earned me an article in the Wood Carving Illustrated magazine- Winter 2019 issue just came out.  I am honored and humbled and amused they asked- and pleased as punch to write the article.  Had a great time, giggled the whole time I worked on it.

This year I'm adapting a whittling I've done a bunch of- the man in the moon (MITM).  You can put a Santa hat on anything and it becomes acceptable as a Christmas ornament.  Jack Skellington, for instance.

Since it's a little different from my usual MITM, I need a prototype.  Sketch the hat on, and try to figure out how thick the blank should be to make the hat and head look right.  He's gonna be one sided, flat on the back.  Technically I guess you'd call it whittling in the half-round.

I started working at the ball end of the hat, looking for a well proportioned half ball.  Once that's done I can work down the hat, then make the head fit into the hat.  I started with a 3/8" thick blank, hopefully I don't run out of wood .

And of course being a little rusty I broke the ball at the top of the hat clean off the blank about two minutes after I started.  Promptly pulled out the CA/super Glue and proceeded to glue the ball back onto the blank, and my thumb to the ball.

I'll come back to this later.


CA glue takes a surprisingly long time to dry when I'm gluing a whittling back together.  Not sure why.  Lots longer than 60 seconds, that's for sure.  I put a drop on each piece and do my best to line them up.  The resultant glue line is pretty much invisible, and the hat gets painted anyway. As a prototype, it has a 50-50 chance of making it to the finish line anyway.


Tuesday, January 14, 2020

Put a Santa hat on it...


You can put a Santa hat on anything and it becomes a Christmas tree ornament.  (couple years ago I put one on an elephant).  Nobody minds, someone out there will like it, like my wife.

He's not too big, kind of a use-up-the-scrap project.  I've whittled a bunch without the hat over the years, typically 1/4 inch thick for one sided moon men (fridge magnets) and half inch thick for two sided, like a ceiling fan pull.  the first ornie I tried was cut 1/4 inch thick, there wasn't enough wood to work with.  I don't like my whittliings to look flat, and the thinner piece of wood wouldn't let me curve his face front to back.  3/8 inch thick let me hake him thickest at the cheek and taper to the points at the top of the hat and bottom point.  He's 3-1/8" tall and 1-1/8" wide.  Start at the hat brim, its as thick as the cheek, more or less.  Whittle the head to go into the hat, then whittle the red portion of the hat down to a pleasing taper.  I like to end my Flat Plane whittlings with long smooth cuts to create planar surfaces- can't call 'em planes cuz they're not flat- instead of multiple cuts to create the curve.  Since he's intended for the tree, I like the way the long cuts reflect the lights.  Use a glossy finish to help with reflections too.

Happy Whittling-
Buffalo Bif

Monday, January 7, 2019

Ornie Time

Looks a little like and Escher print, don't you think?

It's that time of year, the WCI Christmas Ornament Exchange (WCICOE) is here, I mailed out the first run this week.  Had to whittle a total of 18 ornies to put in the mail, plus some for the family, and the wife bushwhacked me by asking IF I Could Just Make Six More for her holiday party at work next week.  Thanks Hon, glad you like them of course I can.  I make sure I'm whittling when it's time to cook dinner, do the dishes, or go shopping...  ;)

Here's some pics of the ornies, and a bit of a show and tell about how I think about a little project like this.  As a woodworker, I always like the small production runs, I'd get a chance to hone the process- I'm a nut for efficiency.  Whittling a number of the same item is similar- I get to fine tune the order of cuts, etc etc.  How I whittle the last one is generally quite different from the process for the first, though they look (mostly) the same.

This isn't a tutorial- more like tips and tricks, and a little insight into the way I think about a project like this.


Everything starts with a sketch- or a tracing, or whatever.  I like to use lined paper and let the lines represent grain direction on the wood.  I rotate the figure to avoid weak grain construction, especially on thin parts.  Having the grain cross the legs would have two issues- cross grain is harder to whittle and more likely to break, either during carving or during use.  I got lucky with this pattern- there really is no whittling straight across the grain- almost everything is at a small angle to the grain, making whittling a bit easier.  The tail is the biggest issue- easy to break with the grain running across it like it does.  I broke more than one- stop what you're doing, find the piece, and get out the super glue.  This is where whittling multiples shines- set the item aside to give the glue plenty of time to dry and start another one.

 I cut the pattern out when I'm happy with it and trace around it on a piece of wood.  I just work on one at this point in case I find something I want to change.  In this case, I switched to a larger blank for the remainder of the project.

Once I have done a prototype and made any changes necessary, I make a more durable pattern, usually from a thin piece of wood.  I'll draw some grain direction lines on it, include some internal lines (whittling lines, not sawing lines) and the dimensions of the blank.


Clean up the bandsaw residue


Taper the little guy thinner on the bottom half.


Taper both legs down their length- I'm looking for the feet (hooves) to be roughly square.  it's important IMO to make sure to disguise the fact that you started with a square piece of wood.


Draw the internal lines.  I like to leave a lot to the viewer's imagination, so my folksy style lacks detail and does not require a lot of planning.


I like to identify the  major features and cut them in first.  Sometimes I have to whittle a few before I figure out what should be whittled first- that was the case here.  Those lines are done- I might have to touch them up at the end, but that is all.

When I started thinking about this project, I had vintage tin toys in mind- kinda thin, two mirror image slightly shaped pieces that might have been soldered together, or joined by tabs-and-slots.  The mostly continuous bevels are how I tried to emulate those toys.  No eyes, no lips, no real nose- just bevels and surfaces that let you know where they go.  It's an active pose- the legs and the swept back ears suggest these guys are flying.  I like the way the flat bevels reflect the lights on the tree.


Antlers- I chose wood.  Thought about metal, but I wanted antlers that went both forward and back from the point of attachment, and just didn't come up with a way to bend and attach metal (or wire) antlers.  Couple connected shavings off the edge of an 1/8" piece did the trick.  Super glued to the head, and when that set, the entire antler was coated with super glue.  I never painted over SG before, it worked out OK.


Some reindeer stood on their own, some needed help.  Springy clothes pins held them up while the glue dried.


These little guys need to hang on the tree, so I needed to figure out where to place the screw eye.  Bent a biggish paper clip into a set of pincers....


...so I could suspend them from different points looking for the balance I wanted.  Had to put the antlers on first to make sure they didn't overbalance.


I chose to have my reindeer fly pretty much straight.  Up or down were options- landing or taking off- but I chose straight.  Once the balance point was found by moving the pincers back and forth, I penciled in a little line on the critter's back to mark where to set the screw eye.

After that, it's just paint.  I like water base, they soak in nice and clean up easy.  If I haven't sanded, which I never do, the water base doesn't raise the grain.  I mix acrylic paints, the cheap ones found in the Wally World craft aisle, with gloss water based polyurethane, thinned with a little water.  It gives me a good color and cross polymerizes inside the wood.  These guys got a coat of clear PolyU on top, and are ready to go.

I've already decided on next year's ornament, tho there's plenty of time to change my mind....

Carve Diem, if you can- Buffalo Bif.

Tuesday, September 11, 2018

Folder, finished


There is is, finished.  Honed, smoothed, mostly- scratch pattern on the bolster could be bettter, but the open blade has no play in any direction and I'm very happy with the action.  Easy to open, could have eliminated the nail nick altogether, and pretty easy to close.  Carving sharp too, and seems to hold an edge well enough.

Friday, February 23, 2018

More folder progress


Well, its together.  Pic above is just before peening the rivets, scales are rounded almost to final shape, all the spots I can't reach once it's riveted are as polished as they will ever be.

Here everything is peened and I've worked on grinding and polishing.  Spot weld marks are gone from the bolsters, the rivets are partially ground down.  Haven't touched the scales yet.

Actually ran into an O Heck moment, I made the pivot rivet too tight, it took  a while to loosen it, mostly because I was scared of making too big an adjustment.  Note to self:  need to check the blade action after every few taps when peening here.  Got a good bunch of dust in the works while roughtin out the bolsters too- few drops of oil and a few hundred open/close cycles interspersed with toothpick cleaning in the slot took care of that.  I really love the action, (sorry for the hubris)- it open nice, could do without the nail nick, good snap both to full open and full closed, no play in any direction in any position, including full open.  Blade is still only rough filed- need to take it to the diamonds and on to honing still.


Thursday, December 14, 2017

Folder progress

Got some time to work on the blade, I'm surprised at how soft the steel is.  It bends before it breaks, and can be worked with a file relatively easily.  I looked up heat treating stainless on the web, and found some surprises.  Older 300 series SS does not react to hardening and tempering, but it will work harden- hammer on it it gets harder.  Surprise!  Newer 400 series SS can be hardened and tempered, the site I found lists max hardness at 60 on the Brinell scale, whatever that means.  I can't find a conversion chart for Brinell to RC.


Here's the rough ground blade, it's close to what I want, though I might take a bit more off the width.  The shape of the blade and the length were dictated by my decision to use the original nail nick.  I'll save reinventing the nick for a later knife.  At this point the edge is square, about 1/32 inch thick- I haven't touched the bevels yet.


Here's a view I've never seen- interesting how the pieces nest together inside the knife, I think.  I temporarily assembled the knife on one side to look at how the open knife edge related to the handle- I like them to be (mostly) in line- and to make sure I didn't end up with the point of the blade no covered by the liners.

I'm debating about whether to try hardening and tempering the blade.  I'm used to harder in my carbon steel blades, on the other hand, I should test the factory blade for edge holding.

Stay tuned.


Tuesday, December 12, 2017

Might have found the ONE

I've made a few hundred knives, all fixed blades, but have regularly dreamed of a folding whittler.  there are dozens of knives out there called whittlers, only one or two have blade(s) shaped the way I like, and of those they are either too pricey for my pocket or have not-so-good reviews from people I trust. 

I've bought a bunch of folders over the years, always intending to modify them to suit but have never changed a  single one.  There's more than a couple reasons for that.

First is the fear of damaging the pivots, or blade, or having the damn thing fold up on my fingers while grinding and damage me.  One solution would be to dismantle the knife, modify and re-assemble.  Little more work than I want to undertake, for a knife I'm not sure I'll like when I'm done.

Second is I assumed a grinder was the only way to reshape a blade; add overheating the blade to the list of fears above.

Third, I've tried to make a nail nick, which some mods will require, but have not been successful yet.  It would be a shame to let an ugly nail nick live on a nicely modded knife.

Reason 4, I've believed stainless steel blades to be inferior to high carbon, but all the HC folders were in the ozone price range.  Not gonna spend that much on a knife with a 50% chance of ruining it.

Last reason is darnit, I just like some of them like they are.  Couple of them have become regular carries for me.

Changed My Mind

A recent exchange on the WCI forum opened my eyes, and a stroke of luck may let this project move forward.  Couple of cronies on the forum suggested using files to reshape the blades.  Not sure why I didn't think of that, but it suits me just fine.  No grinding waste to breathe in, damage to the knife (and my fingers) can be avoided.  It'll take a little longer, but it'll be quieter too.

Same discussion touched on the differences, or lack thereof, between HC steel and modern SS.  Two guys say they have compared steels head to head, and found no difference in sharpening or edge retention (they mentioned 440 stainless).  That's impressive.  I'm willing to give it a try.

Then I got lucky, and found this:


Rough Rider makes 5 or 6 knife kits, all parts included, assembly required.  I picked this one- RRCS5- for two reasons:  the barlow configuration with the (very) large bolster, and the lockback.  I consider a locking blade as a Darn Good Idea.  You can see I've sketched the blade rework in, I get to keep the nail nick on this first one.  Working the blade on a dismantled knife seems perfect.  No bolster on the back made me think I could reshape that end, but now that I hold one in my hands I see the rivet holes are going to limit that.  I've emailed RR asking if the blade is 440, as it is not marked and that info is not included in their description.  To date no response.

Stay tuned I will update when and if work progresses.


Monday, December 11, 2017

2017 Ornie Exchange

I participated in the Christmas Ornament Exchange on the Woodcarving Illustrated forum again this year.  Last time was in 2010, not sure why I haven't done it more, its a lot of fun.  8 signed up this year, including one we send to the magazine as way of thanks for hosting the forum for us.  I made little elephants with Santa hats, based on the baby elephant in Tom Hindes book 20-Minute Whittling Projects.  They took me more than 20 minutes each, I never am as fast as the authors.  Thanks for a great book, Tom.  Tom's a good whittler, and a good teacher too IMO.  If you get a chance to pick up his book, I recommend it.

I thought I'd run through some of the steps I take on a project like this, starting with a pic of a finished elepehant:


And before paint:


When planning a whittling, I like to think about what makes the subject unique, or what features I need to steer the viewer's imagination in the right direction.  Since I don't 'do' reality, imagination is required when looking at my 'work'.

Thats an easy list to make when the subject is an elephant- trunk of course, big ears (African ears are large, Indian ears not so much), tree trunk legs, big round body & butt, and a ridiculoulsy small tail.  That's a long list, covering the animal from tip to bottom.  jSometimes you only get one thing.

Once I've thought about the features I want, I shoot for a full size sketch/pattern on whatever paper is nearby.  This one was easy-  Tom included a nice little line drawing in his book, an easy starting place.  Had to think a little about what makes a Santa hat too- fur brim, ball on top, red color- easy stuff there too.  The first pattern looked like this:


I started to think about grain direction and actually whittling this little guy, and it didn't ake long to realize the kink in the hat was going to be a nightmare.  Grain had to go the long way along the trunk, making that hook in the hat tough or impossible to complete without breaking.  NOTE: I use a knife only, which imposes restrictions on the work; using a dremel or similar power carver would have make the bent hat possible.

So before I even cut one out of wood I modified the pattern:

Scissor snip

I used this pattern to trace one on wood and started whittling.  I'm likely to make some changes after the first.  That is one reason why I like to do repeats- the whittling evolves as I go, I love that process.
Once I've done the first, and made any changes, the next thing is a more durable pattern:


I use card stock, and include notes on the size blank I need for each.  this pattern will hang out in the shop near the saw.

I actually made another change after this- the space between the front and back legs morphed from a U-shape to a single saw cut.  

I can separate the legs with a few cuts that extend up into the belly.

There's a few things on my elephant that depart from reality.  Elephants actually have quite a long bit of belly between the front & back legs- mine have none. I didn't put eyes on them either.  I made up the transition from face to trunk, and varied it from one to the next.  I found a couple I preferred, but can guarantee none of them are anatomically correct.  I don't mind any of that- none if it detracts from creating the impression of an elephant.

Wednesday, March 1, 2017

Thinking about pocket knives today.

I've owned one (or many more) and often carried one, ever since Dad gave me my first one at 8 yrs old.  I'm a fan of the barlow style, and Camillus Cutlery in particular.

I was thinking about the invention of the pocket knife, or folding knife, or at least the early days of them.

Imagine how men must have found them to be the best thing since sliced bread.  Did they have sliced bread back then?  Prior to the folder, nothing but belt knives.  Big, useless for small work.  I'd have been giddy to get a new folder.  Oops- I am giddy when I get a new folder.


Thursday, January 26, 2017

Cut Nail Knives

Thought I'd try using some cut nails to make knife blades from- they're a hardened, tempered steel nail used to attach things (mostly wood) to concrete.  I've never tried them, tho they are easy enough to find- the local hardware store and the nearby Homerville have them, as do other big box stores, and of course they can be had online.

I couldn't find much of any info on steel composition or working properties (annealing, hardening, tempering data); I did get a bit of info from a post to the WWI forum.

Time to experiment, and I have learned the hard way the key to successful experimenting is good note-taking.  So here they are.

First I tried annealing a nail- heat to non magnetic and left it to cool in a can of hardwood ash.  It took a long while to cool, file test showed it was soft, but not as soft as the O1 I usually use (subjective observation).

I heated non magnetic again, and quenched in brine.  Thin blades I make of O1 quench nicely with a momentary dip in brine and cool to room temp (10 min or so) in a bucket of hardwood ash.  Tried that with the annealed nail, file test said it was hard, but again (subjectively) not as hard as the O1. Either the steel composition, the quench process, or the thickness of the nail was affecting the outcome.  (Nail is approximately 1/8" thick).

So at this point I am uncertain of the annealing and the hardening process.  I needed a less subjective test for soft and hard.  I grabbed another nail and bent it till it snapped- I estimate 45 degrees.  Good start.

Annealed another nail in ashes, and one in air.  Both bent into horseshoes, but the air cooled was easier to bend.

That's progress!

On to hardening.  There are three ways to harden steel- in air, in water, and in oil.  I have been told brine and oil are essentially the same, and I believe that.  No smelly smoke or fire in the shop with brine.  Cooling the nail in air resulted in a fully annealed nail, so take air hardening off the list.  Not surprised.

Reasoning that the thickness of the nail may have affected the momentary dip in brine, I quenched the next nail in water until fully cooled.  Nail snapped at an estimated 30 degrees- harder than the original nail out of the box.  Good info, more progress.

Last test was hardening in brine until the nail was fully cool.  Nail snapped quickly, estimated at 22 degrees- sooner than the nail out of the box and sooner than the water quenched nail.

I really should test and compare quenching in oil- maybe someday.

Conclusion- Air cooling produced a superior anneal, and quenching in brine to room temp produced maximum hardness.

Tempering test is easy, but will wait until I have rough forged a few test blades.  I test temper by the size of the wire edge produced during sharpening- I'm looking for the smallest wire edge I can get.  Large edge, too soft.  Continue with additional sample and lower tempering temp until the wire edge is barely visible even under 10x magnification.  At some point the wire edge will not be continuous and Ill raise the tempering temp just a bit.  That is the combination of hardness and toughness I prefer.

Onward .